Tuesday, August 30, 2011

Starting up again

After three great weeks, my parents embarked on their flight home again on Sunday. Yesterday morning, they arrived safe and sound in Germany and life is returning to its normal, pre-parental visit state.

That's right, we're back at it and working on polishing our Ugly Duckling.
Since it's Monday though, laundry and general picking-up came first before I spent an hour (or so ...) browsing pinterest for general inspiration and creating two lists: one master list of all the things I want to do and a shorter list of things I want to do this week.

Just as I mentioned earlier here, my Mom pointed out that perhaps we should tackle our project one room at a time, rather than project-hopping and having half-finished rooms all over the place. While in theory this is a great idea, you know since reading this entry here last week, that things aren't always that easy (one project leading to a multitude of others that weren't planned in the first place or if they were planned, they were on the list for a later time) when restoring/renovating an old home.

Not to mention that I can't stand the thought of painting trim and only trim for the next couple of weeks, every day of the week. Ugh! Shoot. Me. Now! Put me out of my trim painting misery, please!

Anyways, this week the kitchen made the top of the list!


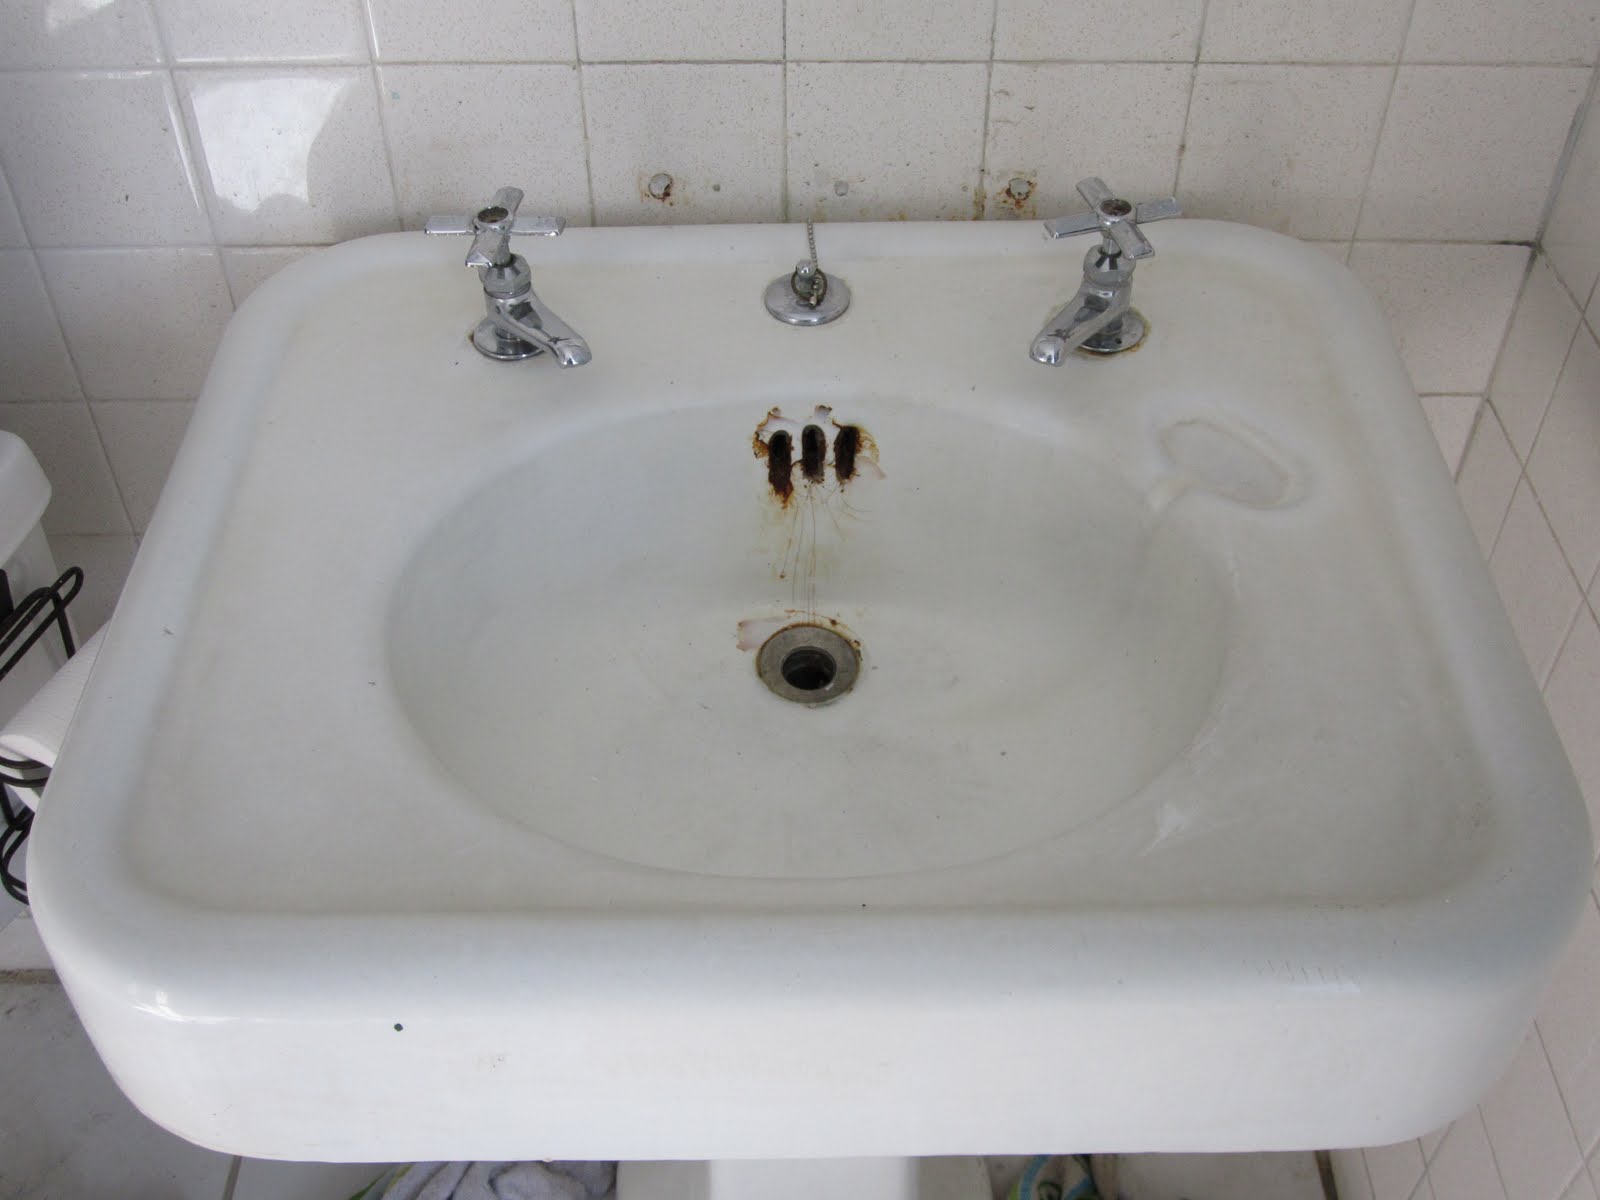
[Before: Just ... gross]

It's close to completion and it'll be nice to have yet another more or less finished room. Heh ... there it is again, almost finished. Let's start with the list, that way it's easier to explain the "almost" bit about it.

[In Progress: Looking so much better already and despite all the
construction dirt, cleaner than before.]


Kitchen:
- rip out old cabinets
- rip out linoleum
- repair heart pine floors
- refinish heart pine floors
- re-plumb kitchen
- update electrical wiring
- hang new drywall
- finish new drywall
- prep, prime and paint walls
- repair base molding and add quarter rounds
- prep, prime and paint ceiling
- install ceiling fan
- install kitchen cabinets
- install appliances
- install cabinet hardware
- prep, prime and paint window trim
- prep, prime and paint base molding
- prep, prime and paint trim around doorway to breezeway
- create open shelving with brackets and boards
- create/ add window treatment
Optional:
- update lighting*
- build built-in breakfast nook *
- add small round pedestal table*
- install back splash*


[After: I looove my new kitchen!]


Optional items are "would be nice to have" items I'm envisioning for our place that don't need to happen right.now. I'm sure I can scramble up enough patience to postpone these for a later time. For now.

Unless there is a delay ordering and/or acquiring certain items on my list (shelf brackets and fabric for my window treatment) , I should be able to wring enough free time out of this week's schedule to get this all wrapped up so stay tuned for bit by bit updates.

Alright, so I won't be writing about every inch of trim I've painted but, you know, share a before and after with you.

Sounds good?

Friday, August 26, 2011

A big fat pile o' nothing


Yep, that's what's been happening this week at our Duckling house: nothing.

With my parents and godchild from Germany still here for their visit, school starting and returning to work this week, all DIY activities have been on hold in favor of family dinners, beach visits and just good ol' day to day living.

We'll be back in full swing next week - promised!

Wednesday, August 24, 2011

Homage to Summer

Ahh, summer, how do we love you


[Disney World]


[Fun in the sun]


[The Zoo and you]


Tuesday, August 23, 2011

One door closes, one door opens

One of the things that can drive you slightly insane when you buy an old home in need of repairs, is the necessity to "project-hop" as we've decided to call it. You can't just take the time to paint all of the trim for 6 weeks or just use the next 2 weeks to bring all of the windows to ship-shape. Sure enough, the moment you're settled in with all your project tools and supplies in place, something needs to be done first/breaks and has to be fixed - not to mention the kind of brain-numbing boredom and paralysis that sets in if you do the same thing over and over without the fresh wind from a new and exciting project.

So after a great evening with friends, BBQ, campfire and s'more we woke to the sounds of torrential rains the next morning. No big deal - still plenty to do inside to keep us busy and from catching cabin fever. I don't remember what we'd settled on doing that day, but those plans went out the window when husband had to ram the shed door to get to a piece of needed supply. The rain and the high humidity had caused the awful shed door to swell and rendered it unusable. Since we couldn't just leave it open, our plans changed to "install new shed door".

[Before: Old nasty door. God only knows why somebody had cut
a rectangle into it only to cover it with a piece of ply again]


Dear husband made a dash to the home improvement store to pick up a new exterior door and returned soon after with a brandnew JELD-WEN pre-hung panel door and some galvanized screws and nails. Everything else we fortunately had already on hand.

[In-Progress: Taking apart the existing frame]

Since this was our first door install, we watched a couple of DIY videos, ogled the existing door frame construction, deliberated and brainstormed about the approach and then started taking the old frame apart since the new door came pre-hung.


[In-Progress: Rebuilding the opening to fit]

After taking it apart, putting it back together didn't seem so daunting anymore. It's funny how you seem to 'grow' with each project in both your DIY abilities and confidence. Half a year ago, I'm pretty sure we'd have squeaked like little school girls at the thought of replacing a door with frame.

[After: Almost finished - the door is hung, level and as plumb as you
can get in a 97 old wooden house]


Once the hardware was installed, we could take a breath. Except for a light sprinkle, the weather had been good to us and the house had cooperated beautifully once again. The new door opens and closes and locks like a charm and looks so much better than that old piece of junk that used to be in its place. Of course, we didn't get one inch of trim painted that day but such is life: project-hopping at its best.

Monday, August 22, 2011

Peek-a-boo for you

After re-upholstering the storage bench with fresh fabric

[After: reupholstered bench chest]

painting the Dahlia desk and adding new curtains,

[After: New look for a vintage sewing desk]

our guestbedroom went from looking like this war zone

[Before: Chaos reigns supreme]

to showing like an actual guest bedroom!

[After: Ahhhh, like a bresh of fresh air]

It's obviously still a work in progress lacking art, night stands and other sweet finishing touches, but for the most part this room is done! Catching a glimpse of it every time I'm upstairs, makes me giddy with joy. It's bright and airy and sweet, and I can't wait to have guest!

Saturday, August 20, 2011

New (plant) life

I so so sooooooooo want to garden yet there are many more and more pressing projects that need and should be completed first. However, with the idea of keeping the DIY spirit alive and kicking I do dig up some dirt every once in a while simply to make me happy. Well, and to keep the front yard from looking like ...you know ... somebody's donkey (or its behind).

[Before: Floridian desert life with Vinkas and Crape Myrtles]

August is just so not a month to plant anything, really. It's god-awfully hot, the sun burns down from a hazy sky and the occasional torrential rains wash out what little nutrients are left and mercilessly drown the more tender candidates. You also end up with a case of "fried brains" rather quickly.

I have my heart set on planting perennial peanut for an easy, low maintenance ground cover with cottage charm instead of a lawn (*yawn) but that will have to wait until the fall so the plants will have a chance to get established and survive this climate. Until then, dirt aka Florida sand and some mulch will have to suffice.

[More loot from the nursery]

After a scrumptious dinner the Little Man and I took a stroll through the nursery adjacent to the restaurant and ended up with a cart loaded with plants for a new planter bed in front of the house. We also picked up some no-dig edging for an easy way of laying out the bed.

[After: Still more of a desert but we're getting there]

I should have checked the weather forecast before starting to dig up the front yard but I just couldn't wait to get my hands dirty. In the end - 3 hours later - I was feeling somewhat nauseous and lightheaded and decided to camp out inside for a few hours. That's when I learned that the thermometer had hit the 98F mark with a heat index of 107F. Ugh, too hot!

The result was worth a little heat discomfort though. Some grasses, variegated liriope and Arabian jasmine later my little bed started to look quite nice. You know, when you ignored the mulched desert in front of it.

[After: All done except for some peanuts]

Now I need is a truckload of perennial peanut to bring the desert out front back to live.

Thursday, August 18, 2011

Every which way

Now that the bathroom floor is in place, I couldn't wait another minute to shovel all the hardware bits and bops into it to clear out the dressing room. So in went the vanity desk and the big box with the vessel sink and the accompanying faucet, the boxed up toilet and the star of the room: the clawfoot tub.

The plumbing for both, sink and toilet, is already in place but our plumber still needs to hook up our tub so we're still free to pick a location for it.

[Position 1: To the left side, parallel to the window]

Our master bathroom measures a whooping and rather luxurious 132 sqft (that's 12 square meters for the European readers here). It's beautifully spacious and bright which is great, especially since the room is in a later top floor addition that has rather low ceilings. Position 1 sees the tub to the left side of the room next to the window. It's the first thing you see when you open the door to the bathroom and when you're lolling in it you have a view of the tree tops through the window and the future location of a wall-mount fireplace. There's plenty of room between the tub and all the other fixtures that are on the other side of the room.


[Position 2: At an angle in the corner]

Joe, our contractor, suggested we might as well flaunt the amount of space by angling the tub in the corner. Sink and toilet would remain on their side, but the tub would claim the majority of the space and the attention on the left side of the room. It looks a bit more dynamic but it needs some sort of visual counterweight on the left to help anchor the tub, don't you think?

There might even be another position possible: Position 3 (no picture though because I just thought of it). Technically we could turn the tub at a 90 degree angle to the left wall so it's parallel to the entry way and faces the side with the sink and the toilet (although that's not necessarily -the- most beautiful view).

I don't know. What do you think?

Wednesday, August 17, 2011

Grout me tender, grout me sweet

I almost forgot! There have been things happening in the master bathroom too! Sheesh ... scatterbrained me! Then again, I might have been inhaling just a little too much drywall dust after all, who knows ...

Anyways, after the husband was done tiling the master bathroom, it was my turn to grout it.

[Armed and dangerous!]

I armed myself with knee pads, grout, a bucket, a grout float and after making sure that the grout lines were clear, I mixed up the first batch of white grout.

[It's grout!]

Mixing grout was kind of like mixing cake batter if not as much fun since you didn't get to lick the spoon clean. Frankly, grouting is also not as much fun as baking a cake. It was okay for about a third of the entire area but after that it got pretty quickly pretty old. Mosaic tile come with a LOT of grout lines, is all I'm saying.

[Grouting in progress: top left corner grouted, bottom right not yet grouted]

Once it's grouted you're still not off the hook. You need to wipe off any excess grout and then, after a while, wipe off the grout haze from all of the tile.

[Before and after haze]

With breaks it took me about 6 hours to grout the entire bathroom. Ugh! Curse you, HGTV, curse you! Giving us the impression that you could whip up an entire bathroom start to finish in a weekend. (Well, alright, so with a big crew of professionals that might be doable but for us mere mortals, we're not quite so lucky...)

[After: The tile floor in all its grouted glory]

That evening I knew I'd used my arms well. They were like wet noodles and so we took the hint and went out for dinner.

Tuesday, August 16, 2011

New look for an old chest

Part of the furniture of the guest bedroom is a cedar chest in which I keep my fabric stash. In order to work with the new design of the room, it definitely needed a new look. And since I forgot to snap a Before picture, you simply have to take my word for it that the old dropcloth top just wasn't cutting it anymore.

Oh lucky day, when I found a piece of black and white acanthus leaf swirl fabric in my stash.

[More or less after: New cover is on!]

Upholstering the top with a new piece of fabric took 10 minutes and has been covered in tutorials and rehashed on so many blogs I'm not going to bother going into detail here. Sufficient to say that you straighten out the fabric and then staple it to the wooden part of the top all around.


Just the red cedar wasn't looking too sharp next to the black and white fabric now. Sigh! Does it ever end?
So I gave the the cedar chest a light wash with black paint, pretending it were a stain. This allowed the grain of the wood and some red glow to show through, but the black wash tempered and mellowed the bright red of the cedar which made it a better match for the new top. Phew!

[Close-up]

[After: New color and new upholstery]

So much better, don't you think? And again, a fab freebie since I had all materials on hand.

Monday, August 15, 2011

Dahlia Desk

Vintage furniture and stencils are a match made in heaven. You've gotta try this! In order to offer my parents a cozy room for their stay here, we had to break out the big guns when it came to improvising style on a serious budget when paint and things you have around the house already are your main ingredients.
I've had this little old sewing desk for a couple of years. It's sturdy, folds out to a large sewing table with a sunken spot for a built-in, but missing sewing machine and 3 deep drawers for stuff. Since I prefer to set up my sewing sweat shop on the dining room table instead though, it was severely underutilized and merely collected drywall dust in our bedroom when it wasn't buried under a laundry basket or tools.

[Before: Mahogany sewing desk with drawers already removed]

After a thorough cleaning and rub down with deglosser, the first coat of primer went on. For a moment I was tempted (notice a trend) to keep it white, but then braced myself and pushed on. I'd chosen a mellow yellow as an accent color to the soft grey and crisp white in the room, and wanted to use the desk to introduce another pop of color.

[In-progress: A mellow yellow desk]

In the spirit of using what I had (and avoiding having to run out to the box store for more supplies) I grabbed the bucket of yellow paint we'd used in the kitchen and painted the desk. The color is lovely, albeit a bit too pale for a piece of furniture. It looked sweet but incredibly bland.
What's a DIYer to do?


Stencil to the rescue! Armed with a stencil and some of the blue-grey paint we'd used on the walls, I wrapped the stencil around the corner and down the drawer front of the little desk.

It's a little hard to see so maybe this project will warrant a bit o' photoshopping the photo rather than using it straight from the camera. Hmm ...

The handles were next. While I like the honey-golden glow of vintage brass, it just wouldn't do for the mellow yellow and grey desk.


This stuff is "Da Bomb!", I'm telling you! It adds a silver shimmer and nice even finish to your hardware without making it look like it was spray-painted. And it dries quickly. Very rewarding!

[After: Drawers with trailing dahlias and fresh hardware]


Cost? Nada. Not a single extra penny spent! Fabulous!

Sunday, August 14, 2011

Refinished Vintage sink

Even before moving in we learned we'd scored a great set of neighbors. John, our across-the-street neighbor, who is restoring his gorgeous Craftsman style bungalow all by himself, even gifted us with a vintage pedestal sink as a house warming gift. Sam, a member of our contractor's crew, manhandled the heavy cast-iron sink upstairs and Olin, our plumber, hooked it up. While it worked beautifully from day one, it definitely showed its age:

[Before: No denying this sink has seen some years ...]

While overall in pretty decent condition, our sink had seen a couple of hundred hand- and tooth-brushings and those years had taken its toll on it. There were scratches and rust and all kinds of other telltale signs of age and use. Still, a pretty cool vintage sink and well worth saving.


During a recent run to the box store I picked up one of these kits on sale for just about $30. trying those kits was definitely worth a shot, and I could hardly pick up a new sink for $30 anywhere, right?

[Step 1: Thorough cleaning]

The instructions were very simple and straightforward. First, a through cleaning and scrubbing with TSP followed by an overall scouring with fine steel wool to roughen the surface (yeah, I didn't think it needed anymore of that but did it anyways).


Much to my joy, the product comes as a spray paint. Woot! I'd gotten plenty of practice using spray paint over the past couple of months so my confidence went up a couple of notches; I could do this!

[In-progress: Surrounding areas taped off and the first coat sprayed on]

I taped off the surrounding areas with a big plastic drop cloth, wrapped up the taps, totally forgot about that thingamajig that the sink plug attaches to and went a-spraying. It went on like a dream and was such an easy feat that I included the top edge of our bathtub that showed the telltale signs of a then attached and now removed shower enclosure

[After: Like new!]

[After all of it: All nice and shiny!]

The vintage sink now looks like new, and so does the tub. This was definitely a project for the win, even if it meant that we couldn't use the sink for the three days it took the finish to fully cure. So far, the finish is holding up really well. You're not supposed to use any harsh chemicals and/or scrubbies on your refinished surface (and if you wipe it down regularly you really shouldn't need to) nor train or duel Beyblades on it, but, hey, that's easy enough!