I'm going to squeak in one old blog post before the end of the week, and one with never before seen footage to boot!
You see, I inherited this fireplace mantle from our next door neighbor Mrs. Harriett before she moved into an assisted living facility. We so miss this sweet spunky lady and this little treasure she gifted us with brings back very fond memories of and with her, but we do love our new neighbor!
Long story short, the old computer died and with it the pictures that showed the husband and I spending days stripping this beautiful late 1800s fireplace mantle with the heat gun from layers of mostly bright frog green paint were lost. There is some lovely detailing on the mantle along with some beautiful wood grain that really deserves better pictures one of these days!
Anyways, we put in a lot of time cleaning up this baby and in the end it looked like this in its new spot in our master bedroom. It provides a nice counter 'weight' to our bed directly opposite and a simply great focal point on a wall that was simply plain boring aside from the batten and board treatment I'd given it before we moved in.
It's just a mantle, no actual fireplace, so we covered the opening of the firebox with a panel that we painted black for now. Maybe we'll add shelves for candles or something like that. Later.
However, with the black panel in place it did all look a bit too stark, and the black panel to wood ratio was off. Of course, since there is usually a band of tile surrounding the fire box!
So I went to the orange box and poked around the rile section for a bit until I scored a couple of sheets of this variegated cream and latte mosaic tile. At just $5 a sheet these were a steal, very much in keeping with the type of glazed tile you would see in an original, and fit the overall color scheme of our bedroom. Neat! I also grabbed two small buckets of pre-mixed adhesive & grout in a soft almond color, and went home.
This was an incredibly quick and easy fix. I cut the mosaic tile sheet with a pair of household scissors into wide strips, then spread some adhesive, placed the tile, and so slowly worked my way around the opening of the former firebox.
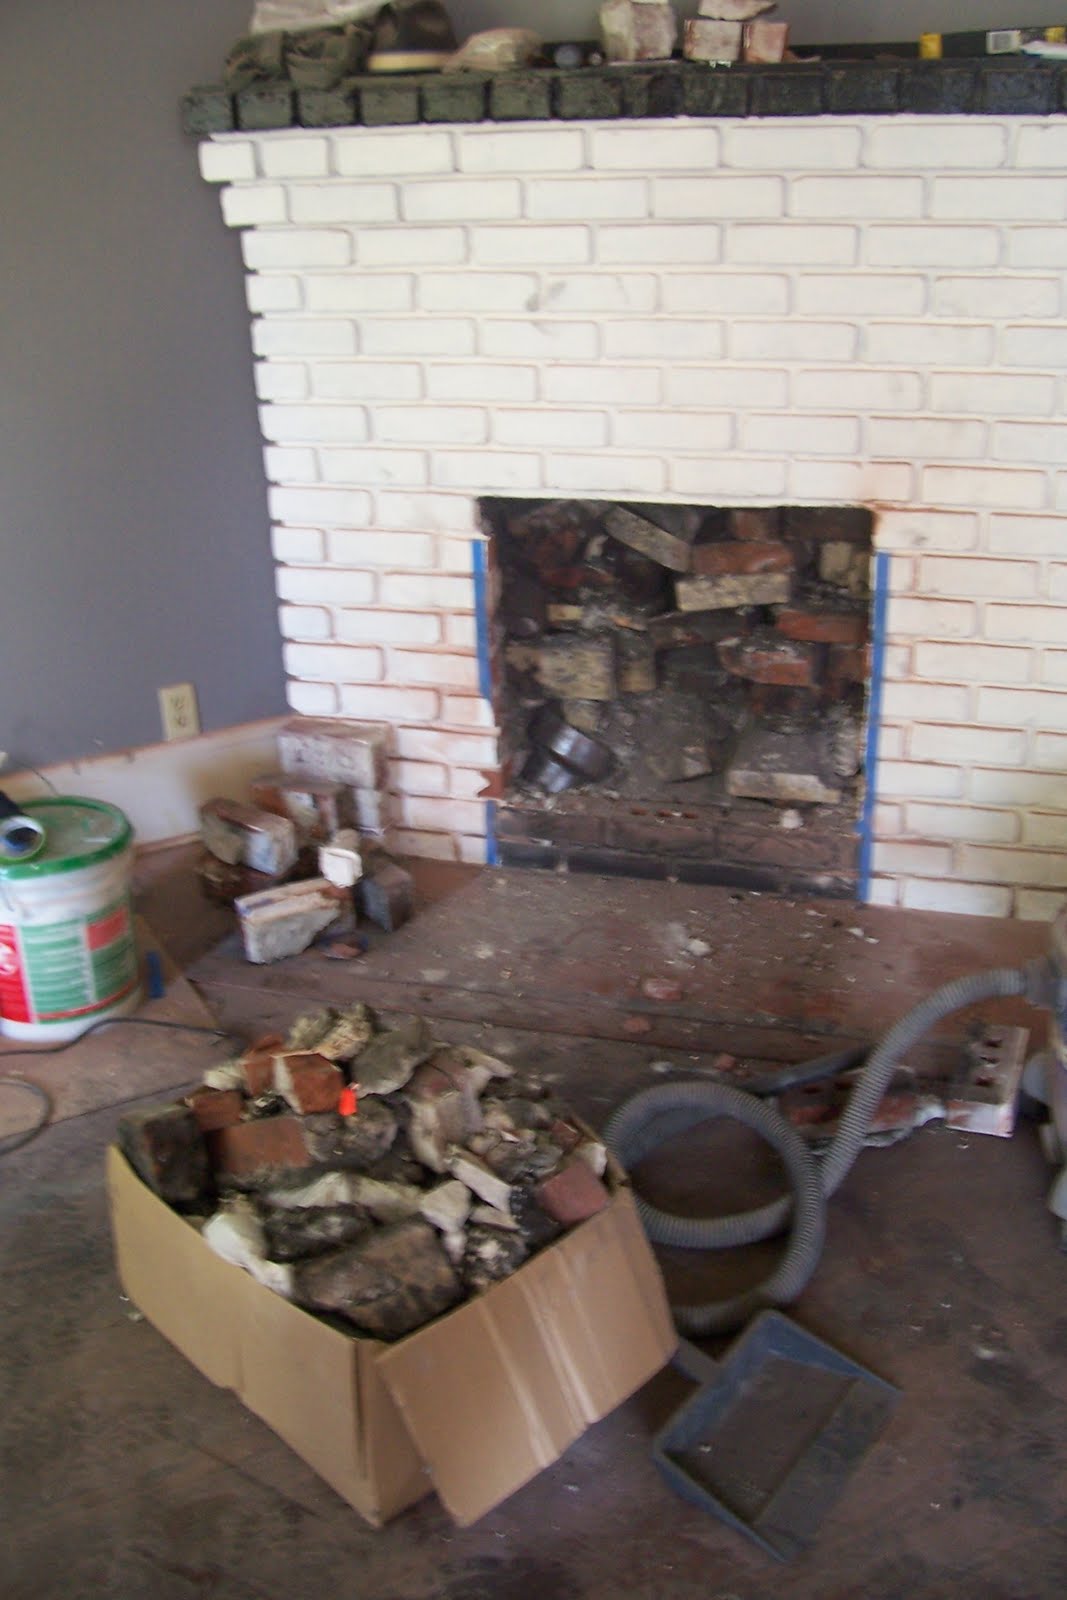
Oh look! You can catch a glimpse of "The Green" - that's the color the whole fireplace mantle was painted. It was very bright ...and very very green.
After letting it dry, I used the same stuff for grout, and then touched up the paint along the edge where board and tile meet. Done!
Showing posts with label fireplace. Show all posts
Wednesday, February 10, 2016
Never Before Seen Footage
Labels:
fireplace,
Master bedroom,
projects,
tile
Thursday, September 12, 2013
Fireplace decor
This year, summer was a truly Floridian summer. When I moved to Florida almost ten years ago, you could set your clock to the afternoon rains. Every day, usually between 3pm and 4pm the clouds would move in, the skies opened up and it rained buckets. BIG buckets. Half an hour later, the sun was shining again from a bright blue sky and you would be none the wiser unless, you know, you left your car's windows open or forgot to close up your convertible ....ahem. Not like the husband would know anything about that ...heh.
Anyways, drought set in and had been plaguing Florida for the past years. There were sometime weeks between rainfalls and wildfires raged all over the State. We had days where ashes would fall from the sky like snow flurries and the sky was cast in a dirty pink glow from the distant fires. Apocalyptic, in one word.
This year we are obviously back to good ol' times. It's been raining.
A LOT!
I don't think we ever had a week with more than one day of no rain. Combined with the sun and the heat it created a true greenhouse effect for all plants outdoor. Wee whacking has never been so demanding - weeds wouldn't stop growing and all the plants in the backyard were trying to outdo each other! It's absolutely crazy!
One of the things that grew almost as tall as I am is my blue salvia in the backyard. It had grown so tall that it started falling over and so I decided to cut it back.
I loved the armful of salvia with its tall delicate spires of bright royal-blue flowers and rather than throwing it on the compost pile, I brought them inside.
Here's where Pottery Barn meets Restoration Hardware again - I plunked my bounty into a white ceramic pitcher and simply placed it on the fire place mantel - much to Inky-Binky's delight! She had to photobomb this display and continued to love on the flowers all day.
I don't know what it is about this cat and flowers. The moment I present her with a bouquet she goes into pretty-pretty princess mode and lounges right underneath the flowers. She is really good abut not trying to eat them or to rip them out, but her behavior is slightly odd.
Yes, Binky is in this picture; she is actually hiding behind the flowers. Silly cat! I really like how the decor on the fire place mantel came together. It's simple, I'm not big into knickknacks and decorating rules and staging but this looks pretty neat, if I may say so myself! It really makes me think about growing a few more cut-type flowers in the yard ...
I know that stores are going nuts already with fall decorations, and even Halloween displays, and so is pinterest but I just can't make myself break out the typical fall ingredients just yet. I mean, it's just September, right? Gah, it's already September! Only 126 more days until Christmas!
Everybody run for their lives!
Tuesday, June 28, 2011
Hot Love!
It was a lazy Sunday morning, spur-of-the-moment decision: we took the gel fireplace for a test drive! Not like the weather had taken a turn for the worse. It is Florida summer after all so it's hot and humid with temperatures that hardly constitute the need for a fireplace (unless you want to whip up a batch of indoor S'mores). We were just curious to see what our fireplace make-over would look like in action.
You can read more about our fireplace and related projects here, here and here.

[Ohhh, fire ....!]
It also generates a nice noticeable amount of heat and the dancing flames have the same hypnotic calming effect as any controlled fire I've ever seen. All in all we consider this "What if ..." project a real winner. For less than $100 and some elbow-grease we turned our wall'o brick into a cozy little wanna-be fireplace!
You can read more about our fireplace and related projects here, here and here.
The gel lights quickly so to keep from scorching your fingers using a long electric lighter or a long fire place match is kid of imperative. It crackles and pops and aside from an uncharacteristic sizzle every now and then, it does indeed sound like an actual wood burning fire.
It also generates a nice noticeable amount of heat and the dancing flames have the same hypnotic calming effect as any controlled fire I've ever seen. All in all we consider this "What if ..." project a real winner. For less than $100 and some elbow-grease we turned our wall'o brick into a cozy little wanna-be fireplace!
Loooove it!
Friday, May 13, 2011
The fireplace that is - of a sort
Ahhh, the fireplace. Yes, that one had us stumped from the moment we set eyes on it. I mean, yes, I know this is Florida and a fireplace isn't really a "sine qua non", a must-have item in your home without which you cannot exist but who'd remove the firebox and then brick up the opening of a humongous brick fireplace that is THE absolute focal point of your livingroom?
Not me.
You probably wouldn't do it either but in the Duckling's past somebody did just that.
Now what to do with it? I went into some of my musings here and here but this problem occupied my thoughts for quite a while. What to do? Our budget wouldn't allow us to do an entire remodel of the fireplace. Or a rebuild. Leave it as is? No way! So one day - while browsing houzz.com for ideas and inspiration - I came across three magical words: Wall Mounted Fireplace.
That sounded doable. Very doable. We'd get the looks of a fireplace and thanks to advancement in gel technology even the crackling of an actual fire without having to worry about chinmney liners, vents and/or gaslines. Searching the internet for types brought up a wealth of different styles for any size wallet. This could actually work!
After busting out the bricked up opening where the original firebox used to be (read more about that here) we covered the whole with a piece of plywood and sealed the edges against drafts from the chimney with "Great Stuff".
[Ready, set - fireplace!]
I managed to snag a great deal on a simple, almost craftman-style copper-colored wall mounted fireplace with a whole box of gel cans on Amazon.com
[All sealed and carved to shape]
I enjoy messing around with spray foam insulation. It's like Playdoh for adults except you have to wait until it skins over before you can touch it without getting gooey sticky hands. Funny enough, it also keeps growing so you end up having to hack and carve it into shape.
Since you could see the spray foam-ed seams through the front of the wall mount fireplace I gave it a quick coat of black paint.
After the paint had dried I wedged and shimmed the wallmount fireplace into its new opening and caulked it into place. While I'm not concerned about it starting a fire at the drop of a hat - these things are meant to be hung on your wall after all - I did use caulk especially made for fireplaces.
[Almost done: Before caulking]
And just like that we have a fireplace of a sort. The cost break down runs along these lines
- Great Stuff (2 cans) $7
- plywood scrap (free on hand)
- fireplace caulk ($5)
- wallmount fireplace ($70)
- hours of labor husband spent busting through brick and wife hauling brick: priceless
Thursday, April 28, 2011
The fireplace that will be
A big imposing fireplace was definitely not the selling point of our Ugly Duckling. Sure, it does have a fireplace, sort of. At some point in its history, the owners decided that a fireplace wasn't a must-have, ripped out the cast-iron insert and bricked the entire thing up.
While we didn't want to add a gas fireplace or try and find out what it would take to restore the existing set-up into a wood-burning fireplace (Remember my worries about wooden houses and fire/gas inside?), we still thought it needed -something-. Something that would turn it from a humongous brick wall in our livingroom into a design feature or sensible focal point (since it's already drawing a whole lot of attention to it through its sheer size)
Our first test to see how adaptable it was, was painting the brick matte white (you can read about that here). It had already been painted over with a satin brick red paint so we didn't feel bad about painting the old brick (removing paint from brick is a real bear and usually damages the brick). The matte white did do wonders for its overall appearance. It turned into quite a looker!
I'm sure you noticed the square in the center that we spared. It is right where the firebox would have been had it not been bricked over. You could actually very easily tell old brick from new brick: the new bricks had a crisp sharp edge and a less porous surface than the older, original brick.
Like Carter excavating Tutankhamen, we managed to wheedle the first brick out of its spot after several hours worth of chiseling, drilling, hammering and hacking.
Frankly, this is something we should have done the day after closing. It's a godawful mess (Yes, our contractors warned us) and 'stinking filthy' doesn't adequately describe your looks after handling a brick or two.
[A first peek]
Husband continued to hack, chisel, chop, drill and sledgehammer away. Both he and the Little Man looked like they'd been working in the coal mines all day after they were done.
We cut a piece of plywood to size and scribbled a quick note on it, both for us and for possible future owners, and after signing it wedged it into place to keep drafts out.
We'll seal it with some foam and then add the last ingredient to a successful super-inexpensive fireplace make-over.
While we didn't want to add a gas fireplace or try and find out what it would take to restore the existing set-up into a wood-burning fireplace (Remember my worries about wooden houses and fire/gas inside?), we still thought it needed -something-. Something that would turn it from a humongous brick wall in our livingroom into a design feature or sensible focal point (since it's already drawing a whole lot of attention to it through its sheer size)
Our first test to see how adaptable it was, was painting the brick matte white (you can read about that here). It had already been painted over with a satin brick red paint so we didn't feel bad about painting the old brick (removing paint from brick is a real bear and usually damages the brick). The matte white did do wonders for its overall appearance. It turned into quite a looker!
I'm sure you noticed the square in the center that we spared. It is right where the firebox would have been had it not been bricked over. You could actually very easily tell old brick from new brick: the new bricks had a crisp sharp edge and a less porous surface than the older, original brick.
Like Carter excavating Tutankhamen, we managed to wheedle the first brick out of its spot after several hours worth of chiseling, drilling, hammering and hacking.


Unfortunately, we can't continue to quote Carter. We didn't get to see "some marvellous objects here" but more bricks and bricks all covered in a layer of thick fatty soot. Joy!
Husband continued to hack, chisel, chop, drill and sledgehammer away. Both he and the Little Man looked like they'd been working in the coal mines all day after they were done.
We cut a piece of plywood to size and scribbled a quick note on it, both for us and for possible future owners, and after signing it wedged it into place to keep drafts out.


Monday, April 4, 2011
The fireplace that isn't
I know it's hard to believe but we're revving it up before our move. We're now fighting on two fronts: at our apartment we're up to our ears in packing chaos, boxes stacked to the ceilings and furniture half broken down, and at the Duckling all kinds of projects are hurriedly being brought to more or less completion. No worries - there's still plenty of work left and I'll keep on posting but at the end of this week we will finally move in! That's right! We will finally fill the Ugly Duckling with life! Since the upstairs bedrooms are pretty much done we decided to tackle the living quarters downstairs as much as possible. Our contractor team has a few spots of drywall to finish still so we kept to the walls that were a go. Another thing we attacked was the fireplace that isn't.
[Before: A load of red brick]
Paint to the rescue! The fireplace brick was already painted a solid layer brick red and so we didn't feel bad about repainting it. There's just no good way to remove layers of paint from old brick without damaging it - you can read up on sandblasting (baaaad....), chemicals and other means of removing paint but we didn't think it'd be worth it. I simply grabbed a bucket of flat white paint and forged ahead while husband tackled the walls (that will get its own post - promised).
[Almost done!]
And if you think that we've strayed a bit from the original design board, wait until you see the dining room ;o)

Our livingroom is dominated by what was once a sturdy, possibly craftman-style brick fireplace. Today it's just a massive, red brick wall because a previous owner had the great idea to weatherstrip with (more) brick. So.not.cool. It's good we don't know what kind of mantle we're missing or we'd be in tears. Anyways, while Florida weather doesn't necessarily make a working fireplace a must-have it's a cool ...err, hot feature to have. Since I'm personally a bit iffy about making a fire in a wood house or setting gas on fire in a wood house I searched the 'net for a possible alternative. More on that later! For now we went ahead and turned the brick eyesore into the hot spot of the living room.
Paint to the rescue! The fireplace brick was already painted a solid layer brick red and so we didn't feel bad about repainting it. There's just no good way to remove layers of paint from old brick without damaging it - you can read up on sandblasting (baaaad....), chemicals and other means of removing paint but we didn't think it'd be worth it. I simply grabbed a bucket of flat white paint and forged ahead while husband tackled the walls (that will get its own post - promised).

What a difference! In a spur of the moment decision I painted the top row black which helped visually 'shrink' the fireplace and balance it against the overall size and height of the room. Originally we were musing about adding a wooden mantel but now we aren't sure. It looks sharp as it is! Don't you love how it just pops against its new backdrop of a warm charcoal grey? We definitely do!
Labels:
Before-After,
fireplace,
livingroom,
painting
Subscribe to:
Posts (Atom)