Showing posts with label painting. Show all posts

Monday, October 17, 2016

Falling for Fall Colors


Among all the craptastic things Hurricane Matthew brought with him (fortunately not for us; we just had to survive five days without electricity), fall was the best. The days following the big storm have simply been beautiful: bright blue skies, lovely breezes, lower humidity, and - best of all - cool nights. Fall in Florida!


That's the time of the year I think my house loves best - its colors just belong into this season. Earthy fall colors to celebrate the Craftsman detail and lines on our house, warm and inviting. Picking those colors were a decision we did not regret one bit!

This past weekend I tackled a project which was delayed by Hurricane Matthew: painting the front door and touching up the paint job in those areas that were dedicated to our accent color (chocolate brown so we're looking at you crag stones and top rails).


After five years our front door is now a rich chocolate brown, and gosh, do I love it! It's one of those little projects you wish you'd tackled sooner. We loved the red, but it just didn't -reeeeally- go with the new color scheme (but life got so crazy it was one of those things that was easily pushed waaaaaay to the back burner).
An hour later, this is what the front looked like. It seriously reminds me of a chocolate bar, and it's just as delicious! Best husband ever doesn't quite get my excitement, but he does love it too.


And because we're slowly but surely approaching Halloween the front wreath got a little make-over too. Two sprigs of fake flowers from the dollar store, a pack of plastic eye balls, and some hot glue! Voila! Peekaboo, I We see you!

Sunday, December 21, 2014

Almost There!

Just a day before my parents arrived for their vacation with us we had reached the following stage (of completion):


Also known as "AD" / "Almost Done" we were almost done with painting. Both body colors were up, and all that is left to do is fine-tuning, trim work, and the porch floor.


That will most likely have to wait until after the holidays provided the weather plays along with days that are nice and sunny and not too cold.


The color?
We love it!
We are ecstatic that it turned out almost better than imagined and envisioned here.


Almost there!

After the holidays we will be back with more exterior goodness, but for now, this will have to do (and it does because, omigod, it's so much better than the flaky peeling blue and grey mess from before).


Monday, December 15, 2014

Color Going Up!

With my parents' impending arrival we were buckling down for good on the last free weekend.
Nothing, absolutely nothing is as inspiring and motivating as your parents coming for a visit. After all, you want to show them a little bit of progress, and we'd been talking long enough about painting the exterior so we wanted that baby done (or as much done as the weather allowed).

While it rained on and off on several days throughout the past couple of weeks, that last weekend was just brilliant, despite a weather forecast that stated the complete opposite.

So we decided to get at least the front painted.
No kidding.
In the beginning we had vowed not to start with the front because we had seen the occasional house where -just- the front had been painted while the rest lingered unfinished and forgotten. It's so easy to get sidetracked, so easy to be swept away by Life. We didn't want to risk that. Since we had hired help (Thanks, Mark!) coming to our rescue, however, we thought we were pretty safe in that we would get all the house painted at some point this year.

So here we go, starting with the front.
We had
scraped
sanded
repaired
and
primed
and now, finally, we got to apply paint!


Here's yours truly atop the front porch roof getting started on painting the upstair's Sherwin-Williams' Oakmoss, a dark, sage-y green, color matched in Benjamin Moore paint.


Yes, I'm crazy excited about painting and seeing how lovely the color is turning out. The husband was mighty proud of me of braving the heights - I usually refuse to work on anything higher than 10ft up, but I felt pretty safe on the big ol' porch roof; it was almost like working on solid ground.

While I was up there, the husband and Little Man were down below.


Since you are supposed to paint 'top down' here's what it looked like after the first of two coats of Oak Moss upstairs:


Isn't it lovely?
Isn't the crisp contrast between the green and the creamy antique white just absolutely delicious?
No, the window frames weren't yet painted - good catch!

The order of painting is
1. Top down (start at the top and work your way down)
2. Details and trim last


While upstairs was drying and putting to use every bit of daylight we tackled the downstairs, first painting the ceiling Antique White, then rolling on the first coat of "Bosc Pear" onto the walls.

The change is drastic, almost more so downstairs than upstairs because Bosc Pear is such a warm, rich color - a huge change from the cool pale grey-blue we used to see.

And then the sun went down and night made it hard to see what we were painting so we called it a day!

The next day we would return for Coat II, paying no mind to our aching arms and backs and feet!

Wednesday, December 10, 2014

White going up!

Much to this short person's frustration, you star painting from the top down. That's the part I cannot reach and where I need the help of strong men who aren't afraid to, you know, wield paint sprayers and rollers at a lofty 20-something feet height and can physically maneuver that beast of a ladder I bought for this purpose.
Me?
I max out at 12' which is a whopping 10' higher now than before we bought our little old house.
Seriously.
I don't do heights very well.
At least not on ladders.

Anyways, since we decided to get rid of the ugly dark trim, Sherwin Williams' "Antique White" colormatched to Ben Moore Exterior paint was the first color to go up.


It's a sweet, soft creamy white - almost beige looking against a bright decorator's white - but it goes on beautifully and will provide just the right amount of clean contrast between our two body colors. Trust me, I know.
I tried.
The first white I'd chosen was just too bright so I mixed my own personal 'right' kind of color which turned out to be a dead match for "Antique White."


See?
Nice and creamy.


It even looked kind of cute with the pale blue-grey that was already on the house ... and for a teeny tiny moment I was torn between continuing with our planned color scheme and just keeping the blue grey. I could see it working with a sea-glass colored porch ceiling, for example.
Very beachy.
Then the sun came out and we went blind.
It was so bright, we felt like vampires skittering into the shelter of the shadows cast by the trees, hiding from the searing burn of the sunlight reflecting off the house.

That made the decision really easy: Oakmoss and Bosc Pear it is!

Monday, December 8, 2014

Primer!

Slowly but surely we are getting closer to color photos! I know this is a rather slo-mo type of reveal but it was a slo-mo kind of project, and that's not even counting the time it took us to figure out the color scheme in the first place (read about it here, and here, and here ...oh, and here).

Unbelievable but true, it took us two whole years to really decide on our exterior paint project (so massive KUDOS to you if you can make it happen faster than that).

After two years of waffling over the 'right' color, squirreling money away, doing research first on professional painters and how much it would cost to have the house painted by someone else, then how to paint it ourselves to save money, and then, finally, buckling down and getting started FOR REAL, we and our little old house were finally (three weeks ago, to be honest) more than ready for

PRIMER!


I know. How exciting!
Well, it was for us.
Seeing the white (for downstairs) and dark grey (for upstairs) primer go up finally made things real for us. We were actually going to get our house painted.
This year!
No more peeling paint.
No more sad dingy blue grey.

Even with just the white primer it looked SO MUCH better already.


I realize I'm an evil tease dragging this process out over so many short posts but this comes preeeeetty close to how 'fast' we progressed, and I knew we wouldn't get anything done during my parents' visit over Thanksgiving.
Bear with me - it'll be worth it (at least that's what we think - we loooove the end product)!

Friday, February 7, 2014

Oh No, You Didn't!

Oh yes, we did.

I know I said that 2013 would be all about getting our Little Old House's exterior spruced up. A whole new color for the ol' gal.

I wrote a detailed email about how we chose our color scheme here and even created some clip art to show everything went together, both on our house and for the big picture aka our blog of the 'hood.

Then this happened - husband finally spoke up that he really didn't like the colors we'd agreed on, and all our plans went, well, to hell in a handbasket. Back to the drawing board it was. After all, the exterior is such a big project that you better 'like' if not 'love' what you put on there since repainting it wasn't going to happen.


We spent weeks painting different shades of blue on the back of our house, until we finally broke down and mixed out own because they all were either too blue, too light, too dark, too grey, too green - well, you get the idea.

Then summer rolled around and all of our plans came to a screeching halt.
Sloshing halt, really, because last year's summer was hot and rainy and miserable.
Mosquitoes grew to the size of helicopters, it was hotter than Hades, and if it wasn't, it sure was pouring buckets whenever we had spare time to actually do paint the house.

The back of our house continued to look like this throughout the remainder of the year. Fall came, and with it nicer weather. It was still wet - wetter than in past years - but there were plenty of nice weekends, just right for painting, and yet.
No painting got done.
We deliberately procrastinated.
No kidding.
I was so not ready to pull the trigger, no matter how much I hated the scruffy look of our little old house.
Then, just a little over a week ago, I caught myself playing with the Sherwin-Williams Color Visualizer, and I realized that while we found a blue we liked, I never quite liked it for our house.

Our little old house just isn't a house that wants to be blue.
History repeating, eh? Now it was my turn with the 'I don't hate it, but ...' spiel.

Before confronting the husband with what had been nagging on my mind for the past months, I kept on playing. I'd recently hit a Craftsman style streak (more on that sometime within the next couple of weeks) and dug deep into the concept of Craftsman style sensibilities. While our house is not a proper Craftsman-style house - its architecture is a bit muddled down - it's a bit Craftsman and Bungalow influenced. We'd already talked about emphasizing rafter tails and such, but playing with the color program I decided to give our little old house a Craftsman make-over, even going so far as to playing with a two-tone color scheme.

And BAM!
That's when I found it: THE color scheme (no, really, this is it).
The moment I painted on the two-tone color scheme on the back of the house (virtually, of course), the architecture of the back of our house where all original features have been lost due to the enclosing of the two small back porches and the second-story addition which now houses our master bath and the dressing room started to make sense again instead of looking bland and faceless!

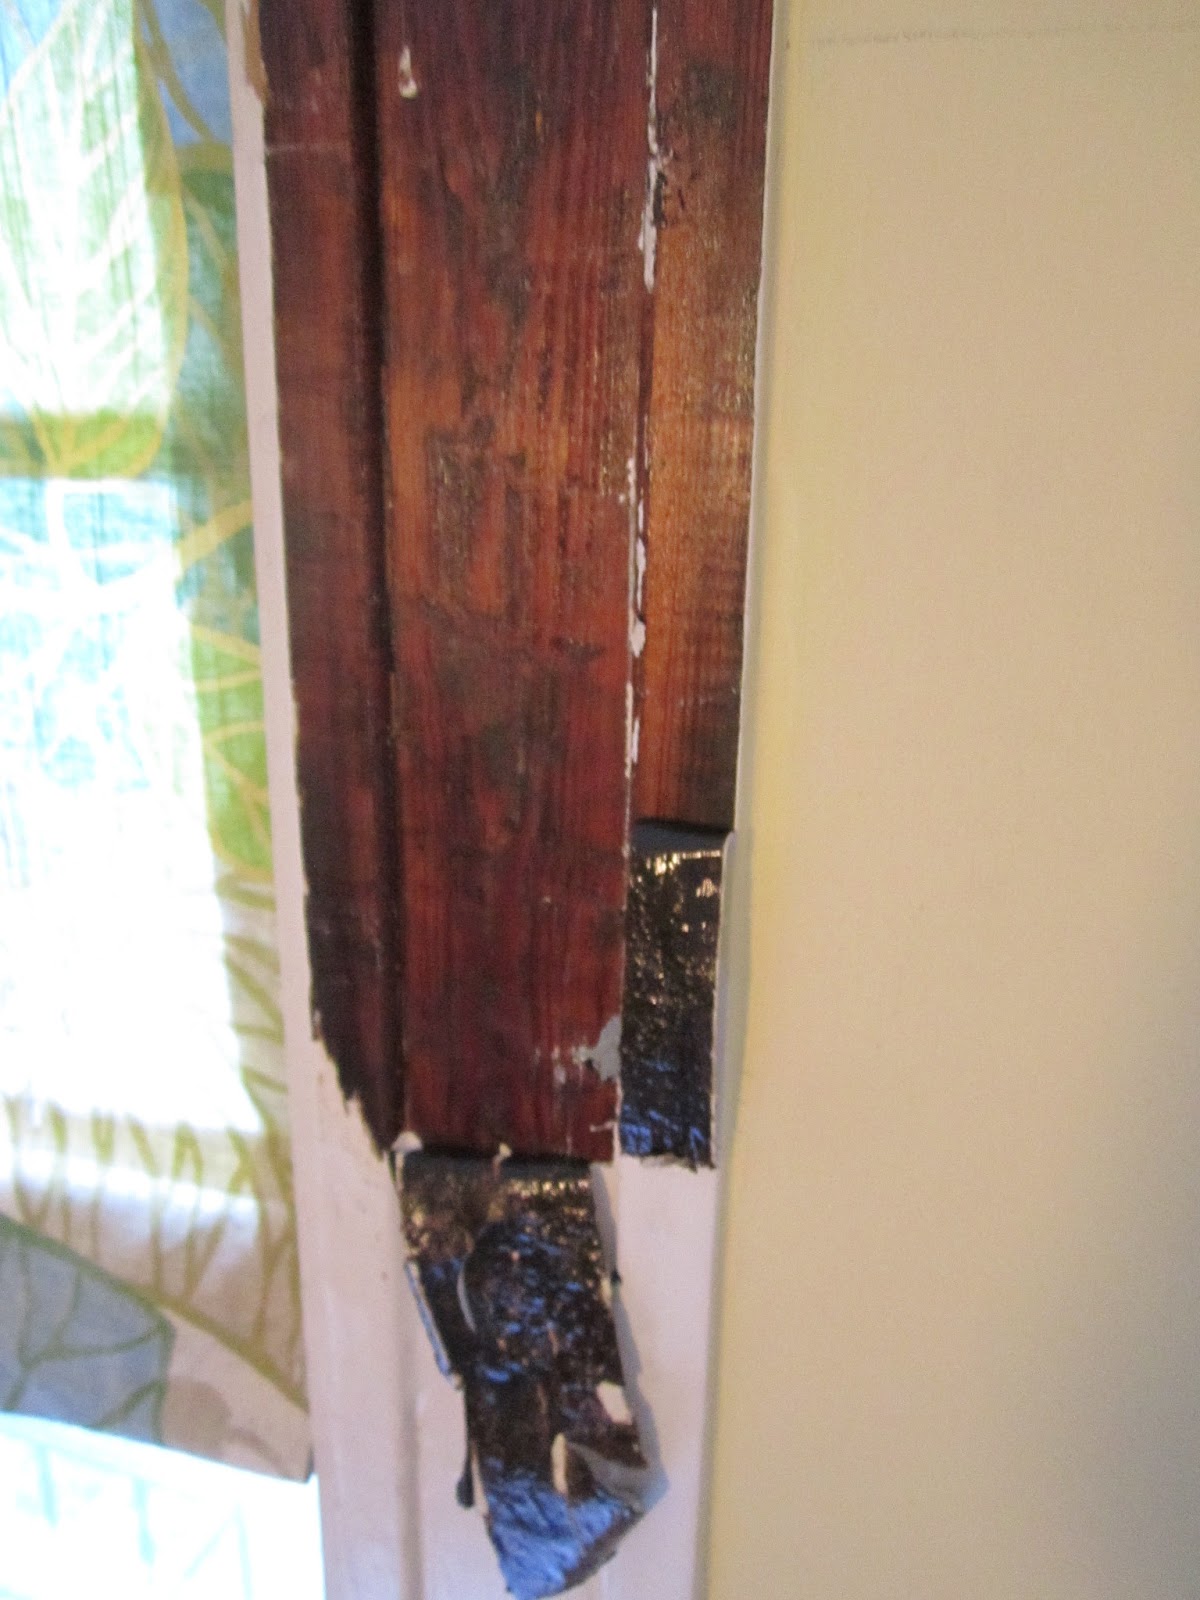
 I know that it's difficult to understand my excitement over this color scheme when all you have to look at are these pictures. They really could be better ... you know, this one was taken in really rotten weather and it doesn't do anything to prettify the back of our little old house (nor does the stack of wood leaning against the a/c compressor).
 This one - taken and modified online with the color scheme - I snapped to show the husband how the two-tone color scheme would look on the side of our house. He was a bit concerned at first about having a two-tone house in green (a dark sage green/ Sherwin-William's "Oakmoss") and gold (a rich, earthy gold / Sherwin-William's "Bosc Pear") next to a green house and a yellow house, but these colors are very different from the colors of the other two houses so there's nothing to poke fun at.

The real kicker came when I bought two testers with these colors to try them on the house. Nothing is more important than to test your paint on the object of your desire - no, really. Light, sun exposure and shade, and even the texture of your siding make a -huge-  difference in how you perceive your color and how true it will look compared to your paint chip. In all cases prior to this, every color I'd picked required massive ttweaking - going darker, going lighter, going greyer, etc.

These two?
Spot. On.
 And then I discovered this gem in one of my books - a historic craftsman influenced historic house with a two-tone color scheme (green on top) and and off-white/yellow at the bottom. Score!


I'm so stinkin' excited to get started painting I'm rotating on the spot while waiting for an available weekend with good weather!


Friday, June 28, 2013

Framed!

Heat, humidity and mosquito population have skyrocketed in the last two weeks, and has turned chipping away at flaky paint on the exterior of our little old house into a slightly less pleasant task.

We have reached the eaves on the backside of the house and are gearing up for minor siding repairs, the restoration of some window trim, and lots and lots of caulking. I'll make sure to share progress and more detail on the window trim project soon, perhaps even this week (*keeps fingers crossed*).

Summerbreak with little trips here and there has begun in earnest, and Little Man is enjoying his camps.

Since it was just too hot to do much outside I decided to crank up the AC and tackle part of our upstair's landing. It may be too hot to strip the remaining stair spindles with the heat gun but I had a couple of doors and frames in mid-progress (i.e. partially stripped, sanded) and what better time to stop procrastinating and getting'er done when it's too hot to do anything else?

[A relic from the husband's bachelor days ...No, I have no explanation why it's still around]

So I cranked up the AC, turned on the music and got going. The process is the "same ol, same ol" - strip, sand, prime, patch, caulk, sand, prime and paint.

After a coat of primer and a quick spray of 'vintage brass' for the hardware


and with a first coat (of three) of sweet glossy Behr "Ultra Pure Premium White" it looks like this:


Why the prettifying inside?

Well, the inlaws are expected to arrive at our little old house in a week from now and, boy, do those visits ever generate a flurry of activity around here!

Wednesday, June 12, 2013

In Case You Were Wondering

 If you have this in your house

(spindles that need stripping ... or door frames ..or windows ...or baseboards)


and you do this

(Work the heat gun, baby, work it!)


You will soon find out that you can indeed heat your house with a heat gun. 

That may be nice in like December or maybe January, even March might still be okay, but in June?
In Florida?
Not so cool.
In fact, it's crazy hot.
I managed to rack up the interior temperature upstairs by 3 degrees within 20 minutes of gunning up.
So much for good intentions ...


Friday, May 24, 2013

Scraping By (Yours Truly)


And so it begins: project "Exterior Painting" is finally underway!

Equipped with an assortment of paint scrapers, paint eater tool and sanders we have embarked on the great task of prepping the little old house's backside for painting.
Ugh.
Ugh, I say!

There is quite a bit of peeling paint on the first floor level,like a sunburn's blistering and peeling, and finally we are allowing ourselves to pick at it. That part is really satisfying and rewarding, you know, just like picking at a peeling sunburn on your shoulders.

I'm sure the novelty of scraping paint outside will wear off soon (it was kind of fun doing that on the inside at first too before it turned into a mind-numbing chore), but so far, we are progressing at a steady pace and it comes with the added benefit of slowly acquiring a tan.

No worries, folks, we tested for lead and the result confirmed my suspicion that our house no longer has its original siding: it tested negative for lead. We still do wear face masks when scraping and sanding, and collect the paint scrapings in plastic drop cloths because breathing in paint particle and wood dust isn't good for you at any rate, but at least we don't have to worry about lead.

Yay for small blessings!

This is a -huge- project, even though our house is a "little" old house, and we will be tackling it one side of the house at a time figuring that seeing a completed side will be reward and encouragement to tackle the next side.

That means there will be fewer updates, too. I won't bore you with updates on how many squarefeet we scraped today, tomorrow, next week, but unless the weather turns to crap, interior projects are mostly on hold for the time being.
I'm thinking I might go for a Monday-Wednesday-Friday posting schedule so you'll at least know when to swing by for/  expect an update.


Thursday, May 23, 2013

We Got The Blues

Our little back porch turned storage shed has seen close to every shade of blue under the sun over the past couple of weeks - dark blues, light blues, greenish blues, purplish blues, greyish blues. Squeaky blues, happy blues. Dramatic blues, boring blues.

I have amassed an impressive collection of little Valspar paint tester jars (if you want to test a blue, ping me. Odds are I have a tester for it ...heh).


Then I stumbled across Rebecca's blog "Simply Natural Mom" and discovered the beautiful color scheme she and her family (and neighbors) chose for their Craftman-style home which is just a few years younger than our little old house. She was so nice to tell me the secret of the color scheme for her house because it looks just perfect!

Unfortunately, in the end, Benjamin Moore's "Hale Navy" looked just too dark on our house - more blackish navy - and it just didn't work but "Roxbury Carmel" is as delicious as it sounds and is a lovely accent color! Instead of "Barely Beige" for our trim color we are currently fancying "Monterey White" from Benjamin Moore's historic color collection.

So which blue did we choose, you wonder?

In the end, I took several testers and mixed my own: a greyish blue that's deep and rich, not too blue and not too grey and not too dark. We are calling it "Stuckenberg Blue" in honor of the first couple moving into our little old house when it was brandnew and smelled of fresh plaster and paint.


I tested the whole color scheme on the back entrance, and I have to admit I do love it. Who'd have thought?

We definitely learned just how important it is to test exterior colors on a larger scale and in different areas on your house. Not only does paint look about two shades lighter outside (as opposed to one or two shades darker inside) but the light your house receives also has a huge impact on how colors will look. Picking color from a photo on houzz.com didn't work either - what looked like a stunning deep blue-green color on the house in the picture, turned out to be a muddy dark green on ours ...ugh! No-thing like the vibrant color in the photo.

So test, test, and test again.

Even if it turns your house into a crazy looking piece of modern art.

Thursday, April 25, 2013

The Best Laid Plans Of Men And Mice

No, we don't have a pest problem.
No exterminator needed, thank you very much.

I wrote about some exterior color scheme musings way back in November last year (read about it here). I have not written about how we painted our back porch several different shades of sage green and blue-green, and how, after eliminating colors along the way as too light, too green, too dark, too blue, we ended up with the back porch mostly painted in Valspar's "Sea Port."

I even liked "Sea Port" combined with a creamy light ocher trim color (because the husband kept talking about 'yellow trim').

All was well until ....
....until the husband declared that "Yeah, that color doesn't do anything for me. Really."
Wait a second ... Whaaaat?
The husband amended his first statement with "Well, I don't hate it."

Yeah, little did he know that that statement wasn't making things any better. Turns out that the husband has his heart sort of set on a blue house. With yellow trim. He even found one house in our neighborhood with that color scheme.

It's ugly (the color scheme, not the house).

I firmly vetoed the yellow trim part, especially after showing him hundreds of pictures of blue houses, all of which sport crisp white trim, but trying to be a good wife I agreed to trying on blue for size, even though I never liked it for our house on the Sherwin-Williams' Color Visualizer.


The things you do for your husband ...
So for the past week I've sequestered myself with paint fans and chips and samples trying to find a blue we both like and that looks good on our house.

So far, there are Sherwin-Williams "Tempe Star" and "Refuge", Valspar's "Bungalow Blue", "Magnet Dapple", "Prussian Cadet", and "Granite", and Benjamin Moore's "Hale Navy" and "Narragansett Green."

Turns out the light plays a real number on how you experience any of these colors.

I wish somebody would just tell me what color to paint my house ...

Friday, April 5, 2013

All Done!

After stripping, prepping, sanding and priming, it was finally time for a fresh coat of bright white! We have been using Behr's Ultra Premium White for all our trim, moldings and interior doors, and love how crisp and clean it looks.


The exterior of the window is still in need some serious TLC (stripping, sanding, re-glazing and repainting are on the to-do list) but on the inside it's looking mighty nice.


Yep, it's not brand-new, in fact it has all the wrinkles of a 99 year old, but it's gotten a serious facelift and the new make-up ... err, paint looks so much nicer and cleaner and smoother.


Our breakfast station - coffee, tea cups, a toaster - missing in action are our cereal bowls.


And with that the kitchen window is D-O-N-E!

Looking at my "Three of Three" list for the kitchen at our little old house, the finishing line is near!

Three of Three - The Kitchen
1. paint window frame (Done!)
2. add lighting (Done!)
3. add a backsplash

I don't know if the budget will allow adding a back splash right away - it all depends on what we decide to install, so I might have to tide you over with a couple of musings, our decision making process and a "Three of Three" of another room before I have squirrel away enough money to sink into this project.

Thursday, April 4, 2013

The Kitchen Edition: Mo' Window

On Day II of Project Window I gave the stripped window frame a quick sanding and a light coat of primer.
Nothing brings out imperfection as beautifully as a crisp coat of bright white and primer does the same. Once all the scratches, gouges, dings and divots were painfully obvious it was time for a bit of wood filler.


Yes, I use an old zoo membership card as my spatula - it's THE BEST to fill and smooth wood filler. You should try it. Any store/credit/membership card will do.

After drying, more sanding, more patching, more sanding, a dab of caulk, and finally, finally, the final coat of primer.


And tomorrow. Tomorrow will bring a fresh coat or two of beautiful semi-gloss white!

Monday, April 1, 2013

Kitchen Edition: Strippin' it

Aaaand .... here we go again: stripping and prepping and priming and painting. Those are the steps you just won't get around when refinishing a window ...or a door ...or baseboards ...or any kind of molding, built-ins and yes, even stairs.

From a distance the kitchen window frame didn't look so bad (no, really, it's just my crappy photography and bad timing in regard to light) but up close you were always sorely reminded of generations of wannabe-painters: thick layering of paint, dried up drops, dings and divots. You name it, our window frame sported it like a zit on a debutante's pert little nose.

There were a few areas were I expected to unveil serious termite damage haphazardly 'fixed' by copious amounts of glompy wood filler (or caulk ...or tissue paper or ...something. If you talk to my neighbors, people in the past were awfully creative when it came to quick and cheap ...ahem, fixes).


Armed with my trusted heat gun and scraper I went to work. You know, I'm tempted to blame the fumes from cooking up that old paint but this time I actually enjoyed stripping off paint.

No kidding.


I mean, how could you not when your scraper slices through thick layers of dirty uneven paint to reveal glossy chocolate-colored pine wood with the most beautiful grain?
It also boost morale that the area was straight so zipping up and down with the heatgun and scraper was like flying down an empty highway with a sexy car.

Those areas I expected to be the remains of a termite's snack bar?
Just a bad paint built-up where people had painted over half-removed pitted layers of more paint.
Seriously ... ugh!

Sure, there are a few dings and divots, scratches and some holes from nails and curtain hardware and God knows what, but overall, the trim is in good enough shape to refinish it with a clean-up, some stain and a dash of poly.

I'm, however, not a dark wood trim kind of gal (and I'm not going down that road of refinishing all trim in the house to its original wood, nuh-uh) and love my trim all crisp and white and clean, but if any owners after us decide to go back to the original, all they'll have to remove on this window is one single layer of paint.

When I was done stripping off all of the old crusty paint, I had to call it a day. Dinner was calling - the dog had been reminding me for the past hour by sticking in his head, watching me scrape and oooh and ahhh over the window, and giving me a quick yip - and it was getting late.

More tomorrow!

Tuesday, March 26, 2013

Three of Three: Laundry room - Semi-Finals!

I know, I know.
Bad blogger!
Not only have I skipped several days worth of entries but I also seem to have fallen off of the staircase challenge wagon.

You see, I usually work on house projects on the weekends. During the week life sometimes just gets too busy to accomplish much. Two weeks ago I went on a trip to Tampa and spent some time with a friend, and this past weekend we went camping with Little Man's Cub Scout pack. Add to that that just thinking about the staircase is giving me hives right now and that I managed to throw out my back so squatting on my butt on the floor sanding spindles was painful in more ways than one, and you have a pretty good idea of why there was next to no progress here at the little old house.

Monday I went to see the chiropractor who snapple-crack-popped my  back back into alignment and things started to look up. Still not crazy about the idea of taking on the staircase again, but I did put in some hours in the laundry/mudroom.

Here we go: last I checked in with you I'd started to paint the door to the backyard and the then exterior, now interior wall still sporting the siding. Both had been painted a drab grey that seemed to suck the light out of the tiny room.

Even with just a coat of primer, both tied in better into the room and gave it much more space by visually receding. Phew! Just what the doctor had ordered for our little laundry/mudroom!

Here we are with the final coat of glossy white for the door and frame around the breaker box, and the same soft yellow we used in our kitchen and all other laundry room walls on the wall.
So. Much. Better!

Another quarter turn pointed me to another project in the little room: the backside of the door to the kitchen. Yes, I'd painted the other side of the door (the one toward the kitchen) at some point with no concern for the backside.
Heh ... shame on me.

Time to rectify this shortcoming!


First, the door needed a serious scrubbing. Then I went and removed the hardware, and filled up the holes left behind by yet another set of latching locks; they were -everywhere- throughout the house, and on some doors we removed several sets. Ugh!


Time to rough it up! As if the old door wasn't beat up enough already (character - it's character! not to mention solid wood) I gave it the special treatment with the sander. I did take out a few bumps too and smoothed a couple of rough spots.
The few remaining dings are just indicators of the door's age and don't bother me at all. After a hundred year and more than two dozen families calling our little old house home, you get to have a few nicks and wrinkles.


I primed and then painted the door and frame. Paneled doors are painted from the inside out: you start on the inside of the panels, then you paint the horizontal parts of the door and finally the vertical lines.

Three coats of white glossy paint later and some quick touching up with sun-washed yellow along the door frame and we can call this project "DONE"!


Painting the wall to match the others and giving the doors a fresh coat of glossy white paint make a HUGE difference in this tiny room. It feels so much bigger and brighter, my mind boggles!


So, where are we with my "Three of Three" for the laundry/mudroom?

Laundry Room
1. paint (cabinets, tabletop and part wall)
2. install door knobs
3. hide the utilities

Now it's time to get creative and come up with something to hide the breaker box and our electric water heater from sight.