Thursday, April 4, 2013

The Kitchen Edition: Mo' Window

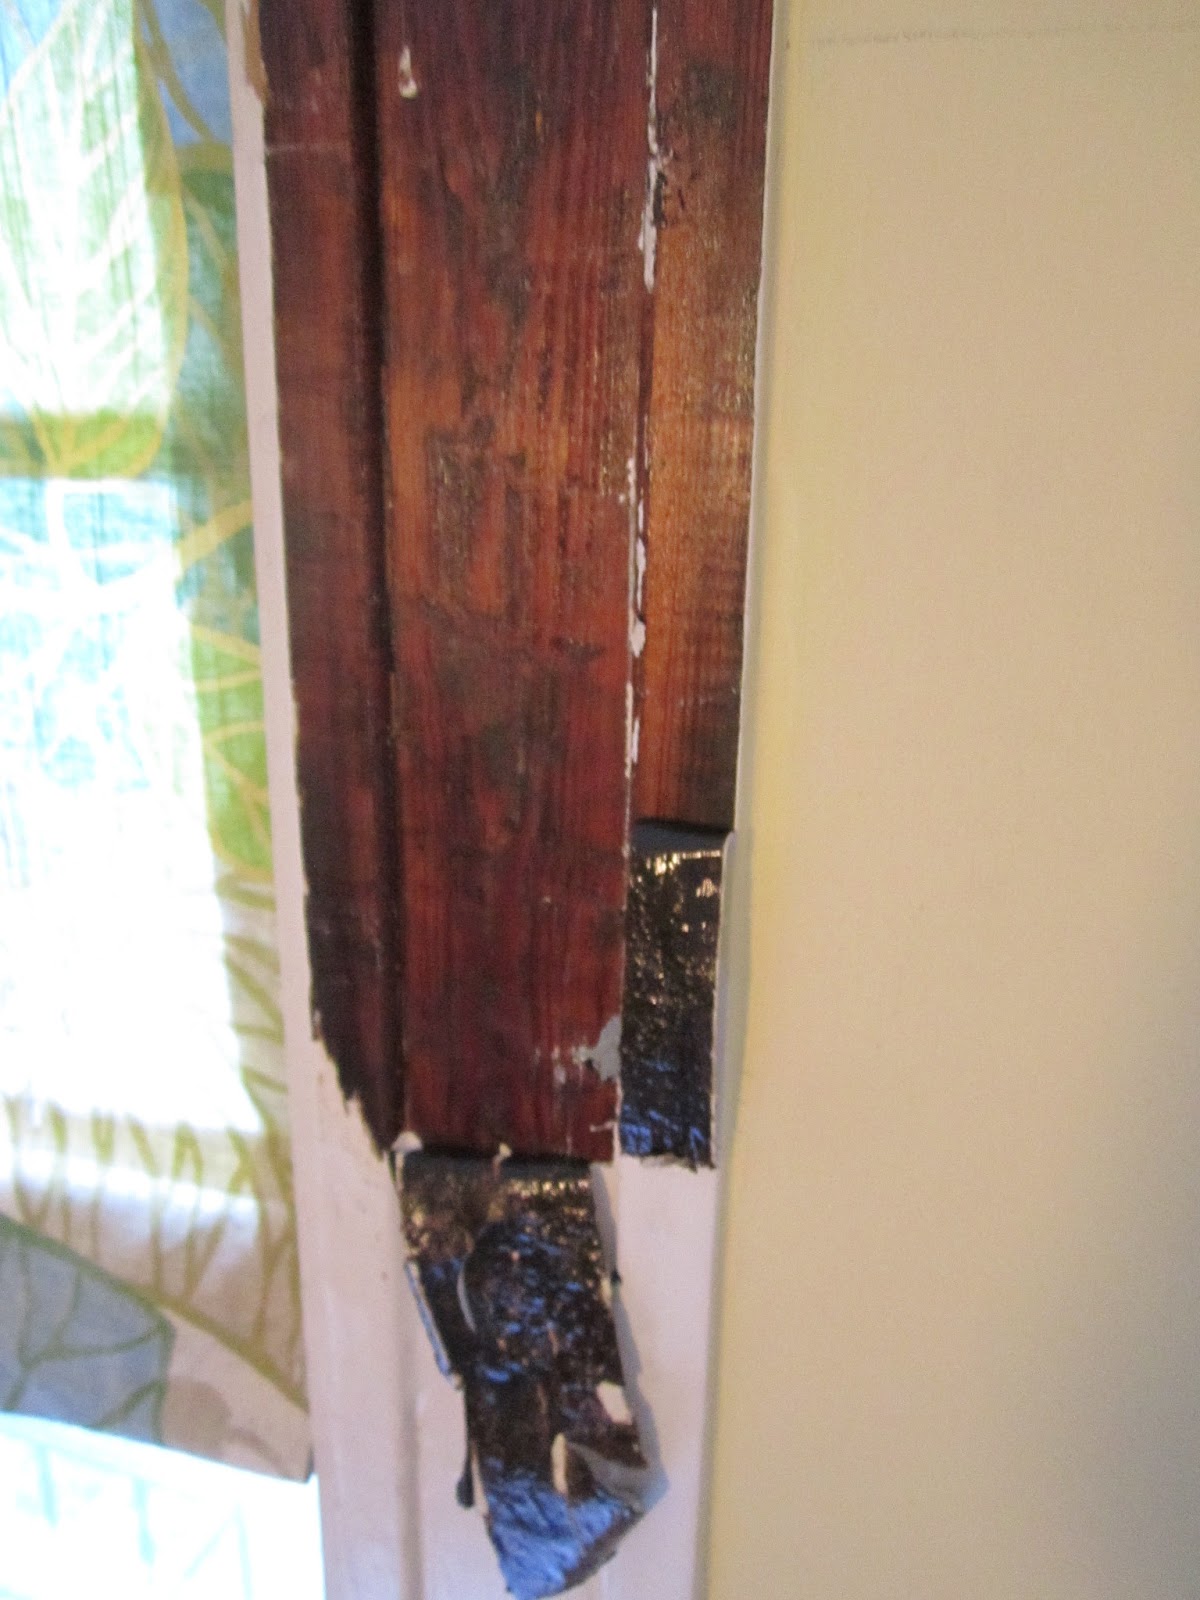
On Day II of Project Window I gave the stripped window frame a quick sanding and a light coat of primer.
Nothing brings out imperfection as beautifully as a crisp coat of bright white and primer does the same. Once all the scratches, gouges, dings and divots were painfully obvious it was time for a bit of wood filler.


Yes, I use an old zoo membership card as my spatula - it's THE BEST to fill and smooth wood filler. You should try it. Any store/credit/membership card will do.

After drying, more sanding, more patching, more sanding, a dab of caulk, and finally, finally, the final coat of primer.


And tomorrow. Tomorrow will bring a fresh coat or two of beautiful semi-gloss white!

Tuesday, April 2, 2013

Kitchen Edition: Let There Be Light!

Hind sight is 20/20, and it's really true when it comes to your first ever renovation/remodel.

There are a couple of things I wish I'd known/thought about/done differently when we were tearing through our little old house two years ago trying to get it ready enough to move in.

One of them is the light situation in the kitchen. While we have enough electrical outlets to equip a small country, we missed out on the chance to add more lighting right at the beginning. For a while we've been musing about adding a pendant light to the area above the sink, and while squirreling away money, locking down project funds for "The Big Great Painting" and more projects on the list than you can shake a stick at, we thought we could start with a temporary solution.

You know, to see if it'd be a good thing to add a light fixture above the sink and without too much commitment (and holes in the drywall) before calling in the electrician.

Plug-in light fixture to the rescue! I went to Etsy.com to see what other crafty people had created, and found a couple of options that both, the husband and I, really liked.

 
[Source: Portman Workshop]

Those mason jar light fixtures are just sweet and very homey looking, and we both loved the funky Edison bulb!

 [Source: FleaMarketRX]

A colander! How cute is that? And those colors! So bright and cheerful - I love them all! The same etsy store also seems pretty cool tin pan light fixtures and other industrial designs so it's well worth swinging by!

[Source: OVERSPRAYkc]

We both like industrial design and so the wire cage light was just right down our alley and the pop of color from the teal bobbin really caught our eye.

After browsing many many pages of eye candy, we kind of tabled the whole idea and put it on the backburner. It's one of those not-so-important projects/ideas, and life kept us busy until my trip to IKEA when I hopped over to Tampa for the weekend to visit a friend. Before making the long trek back home I hopped into IKEA, and while there, grabbed one of their plug-in light fixture kits in a spur of the moment. Almost at the cash register I spied this cute flower pot, and that was when an idea started to form in my head.

What if ...

While waiting for the primer on the kitchen window frame to dry, I armed myself with drill, pliers and project ingredients.

I marked the center of the bottom of the flower pot with the circle hole I needed to cut to thread my light fixture. Using the drill with a metal tip I drilled lots of small holes along the perimeter of the circle essentially creating a perforated edge. I also gently bent the scalloped edge outward because I liked the way it looked.


It was pretty easy to cut the remaining ridges between the holes by using a screwdriver as a chisel and giving it quick tap with a hammer and finally I was able to pop out the circle shape.

Time to thread the light fixture on!

Voila! I made a light!

The light kit came with a pair of hooks and the light was hung up in no time! I picked up some coax staples and secured the cord along the edge of the ceiling and down one side of the refrigerator cabinet to tidy things up.

It makes a HUGE difference!
It's cute - I'm clearly channeling the shabby chic country girl right now - but it adds a sweet touch to our kitchen, and it provides a surprising amount of light to the sink area which is lovely, especially in the evenings.

The only problem? I wanna make more lights! This was fun!


Monday, April 1, 2013

Kitchen Edition: Strippin' it

Aaaand .... here we go again: stripping and prepping and priming and painting. Those are the steps you just won't get around when refinishing a window ...or a door ...or baseboards ...or any kind of molding, built-ins and yes, even stairs.

From a distance the kitchen window frame didn't look so bad (no, really, it's just my crappy photography and bad timing in regard to light) but up close you were always sorely reminded of generations of wannabe-painters: thick layering of paint, dried up drops, dings and divots. You name it, our window frame sported it like a zit on a debutante's pert little nose.

There were a few areas were I expected to unveil serious termite damage haphazardly 'fixed' by copious amounts of glompy wood filler (or caulk ...or tissue paper or ...something. If you talk to my neighbors, people in the past were awfully creative when it came to quick and cheap ...ahem, fixes).


Armed with my trusted heat gun and scraper I went to work. You know, I'm tempted to blame the fumes from cooking up that old paint but this time I actually enjoyed stripping off paint.

No kidding.


I mean, how could you not when your scraper slices through thick layers of dirty uneven paint to reveal glossy chocolate-colored pine wood with the most beautiful grain?
It also boost morale that the area was straight so zipping up and down with the heatgun and scraper was like flying down an empty highway with a sexy car.

Those areas I expected to be the remains of a termite's snack bar?
Just a bad paint built-up where people had painted over half-removed pitted layers of more paint.
Seriously ... ugh!

Sure, there are a few dings and divots, scratches and some holes from nails and curtain hardware and God knows what, but overall, the trim is in good enough shape to refinish it with a clean-up, some stain and a dash of poly.

I'm, however, not a dark wood trim kind of gal (and I'm not going down that road of refinishing all trim in the house to its original wood, nuh-uh) and love my trim all crisp and white and clean, but if any owners after us decide to go back to the original, all they'll have to remove on this window is one single layer of paint.

When I was done stripping off all of the old crusty paint, I had to call it a day. Dinner was calling - the dog had been reminding me for the past hour by sticking in his head, watching me scrape and oooh and ahhh over the window, and giving me a quick yip - and it was getting late.

More tomorrow!

Thursday, March 28, 2013

Three of Three: The Kitchen Edition

With the laundry room all finished and wrapped up, it's time to move on to the next room on the list. And since the closest room to the laundry/mudroom is our darling kitchen, what better room to tackle next on my "Three of Three" list than that!

We simply love our kitchen and everything we put into it. When we bought our little old house, the place was a hot mess: dirty, outdated, awkward, non-functioning.

[The ugly truth: Before]

We tore out -everything-. For such a small room, we had a major list of updates and upgrades. Here is our list of completed projects so you can see for yourself:

Kitchen:
- ripped out old cabinets
- ripped out linoleum
- repaired heart pine floors
- refinished heart pine floors
- re-plumbed kitchen
- updated electrical wiring
- hung new drywall
- finished new drywall
- prepped, primed and painted walls
- repaired base molding and add quarter rounds
- prepped, primed and painted ceiling
- installed ceiling fan
- installed new kitchen cabinets
- installed new appliances, sink and faucet
- installed cabinet hardware
- prepped, primed and painted base molding
- prepped, primed and painted trim around doorway to breezeway and to laundry room
- created open shelving with brackets and boards
- created and hung window treatment
- added a chalk board on door to laundry room

[Hard to believe it's the same room: After]

Without the help of our contractors in the beginning we wouldn't have been able to complete all of this with our sanity still (mostly) intact. Amazing how after this long list, though, I still have plenty more ideas and projects for it on my wishlist! But ...all in the spirit of wrapping some things up, here is my "Three of Three" for the kitchen for this year:

Three of Three - The Kitchen
1. paint window frame
2. add lighting
3. add a backsplash


I really, really want to add a No. 4: "Create an eat-in nook," but we'll have to see how that all will fit into the budget. We -are- gearing up to paint the exterior of our house and that will siphon off quite a few of our project dollars so some of the 'flourishes' inside the house will have to wait. No worries, I have plenty of more points to add to my list. I can do that "three of three" game for a couple of years without having to rack my brain just yet!

Tuesday, March 26, 2013

Three of Three: Laundry room - Semi-Finals!

I know, I know.
Bad blogger!
Not only have I skipped several days worth of entries but I also seem to have fallen off of the staircase challenge wagon.

You see, I usually work on house projects on the weekends. During the week life sometimes just gets too busy to accomplish much. Two weeks ago I went on a trip to Tampa and spent some time with a friend, and this past weekend we went camping with Little Man's Cub Scout pack. Add to that that just thinking about the staircase is giving me hives right now and that I managed to throw out my back so squatting on my butt on the floor sanding spindles was painful in more ways than one, and you have a pretty good idea of why there was next to no progress here at the little old house.

Monday I went to see the chiropractor who snapple-crack-popped my  back back into alignment and things started to look up. Still not crazy about the idea of taking on the staircase again, but I did put in some hours in the laundry/mudroom.

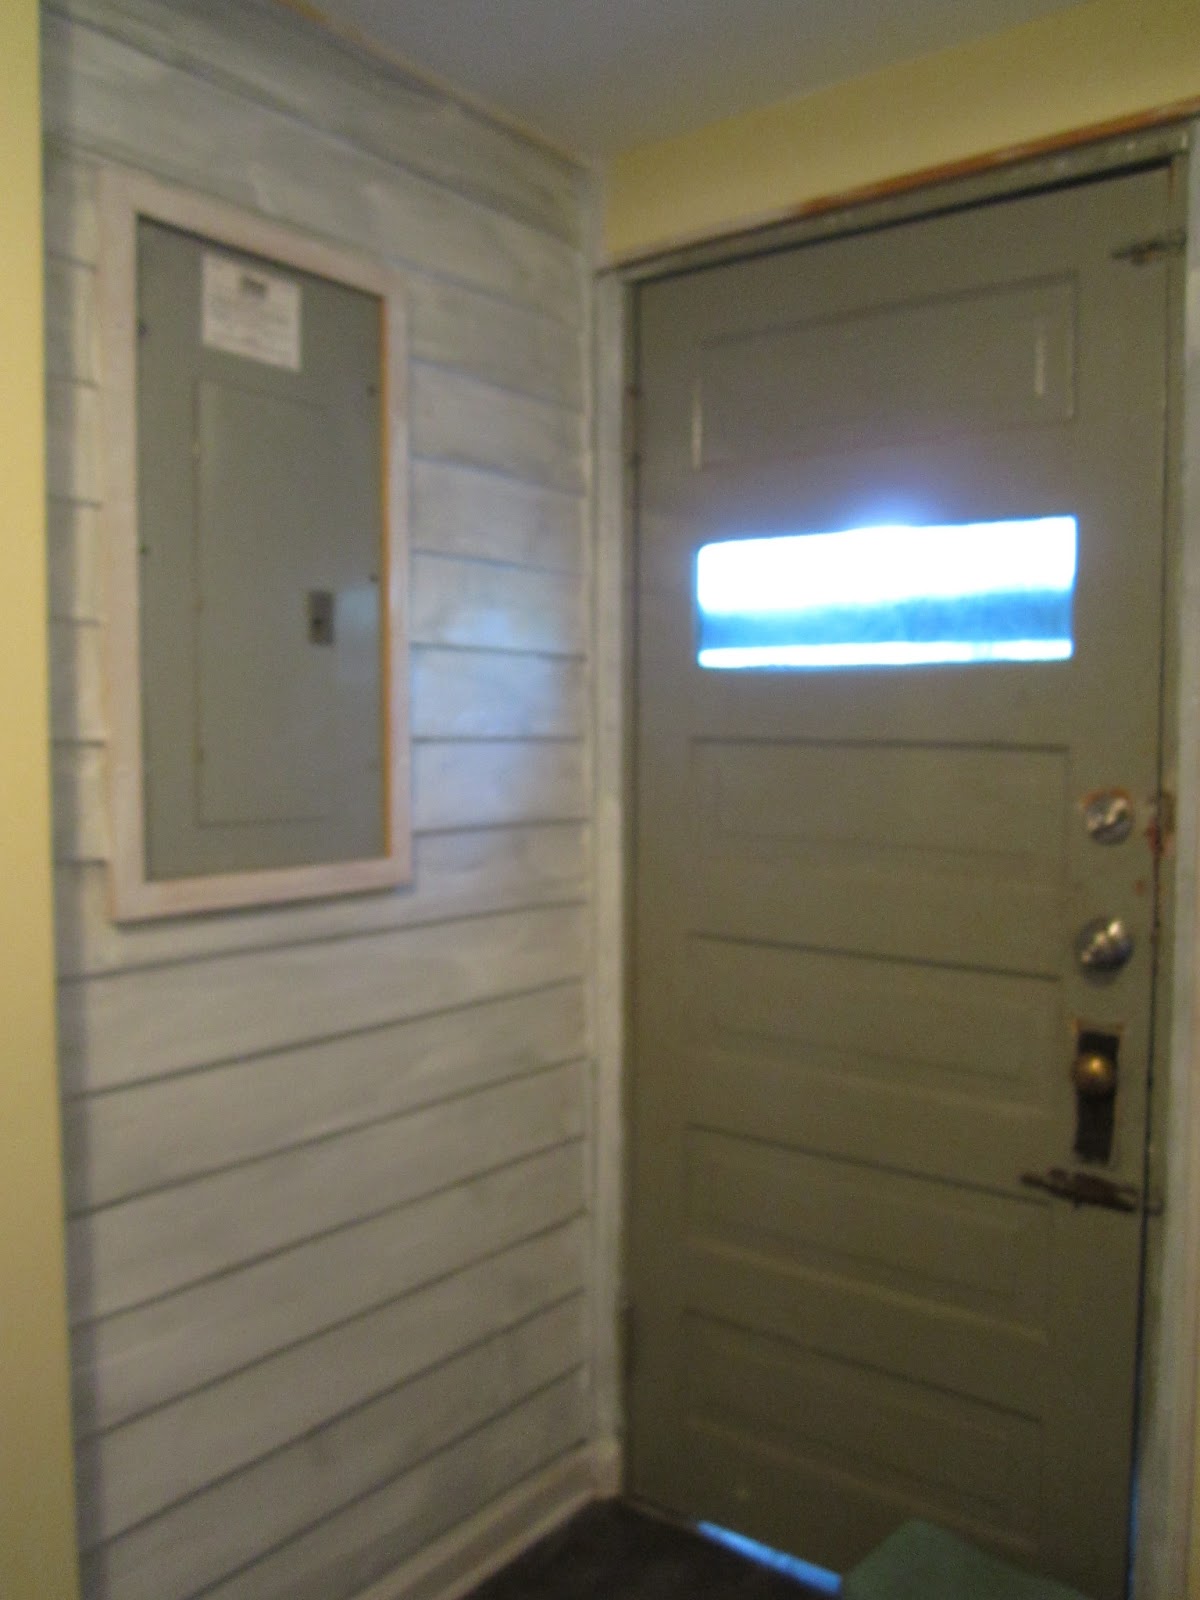
Here we go: last I checked in with you I'd started to paint the door to the backyard and the then exterior, now interior wall still sporting the siding. Both had been painted a drab grey that seemed to suck the light out of the tiny room.

Even with just a coat of primer, both tied in better into the room and gave it much more space by visually receding. Phew! Just what the doctor had ordered for our little laundry/mudroom!

Here we are with the final coat of glossy white for the door and frame around the breaker box, and the same soft yellow we used in our kitchen and all other laundry room walls on the wall.
So. Much. Better!

Another quarter turn pointed me to another project in the little room: the backside of the door to the kitchen. Yes, I'd painted the other side of the door (the one toward the kitchen) at some point with no concern for the backside.
Heh ... shame on me.

Time to rectify this shortcoming!


First, the door needed a serious scrubbing. Then I went and removed the hardware, and filled up the holes left behind by yet another set of latching locks; they were -everywhere- throughout the house, and on some doors we removed several sets. Ugh!


Time to rough it up! As if the old door wasn't beat up enough already (character - it's character! not to mention solid wood) I gave it the special treatment with the sander. I did take out a few bumps too and smoothed a couple of rough spots.
The few remaining dings are just indicators of the door's age and don't bother me at all. After a hundred year and more than two dozen families calling our little old house home, you get to have a few nicks and wrinkles.


I primed and then painted the door and frame. Paneled doors are painted from the inside out: you start on the inside of the panels, then you paint the horizontal parts of the door and finally the vertical lines.

Three coats of white glossy paint later and some quick touching up with sun-washed yellow along the door frame and we can call this project "DONE"!


Painting the wall to match the others and giving the doors a fresh coat of glossy white paint make a HUGE difference in this tiny room. It feels so much bigger and brighter, my mind boggles!


So, where are we with my "Three of Three" for the laundry/mudroom?

Laundry Room
1. paint (cabinets, tabletop and part wall)
2. install door knobs
3. hide the utilities

Now it's time to get creative and come up with something to hide the breaker box and our electric water heater from sight.

Friday, March 22, 2013

Three of Three: Laundry Room - The adventure continues!

With the cabinets all glossy white and be-knobbed aka outfitted with hardware, it was time to move on to the next part of the To-paint list: part of the wall and the door to the backyard.


Our laundry/mudroom was originally a small back porch. At some point in the life of our little old house it was closed in. Even later (or should that be 'more recently'?) it was fashioned into a full bathroom for the downstair's apartment, and when we moved in we turned it back into a laundry/mudroom since we needed a room for our washer and dryer. We also added a new full bath upstairs and kept part of the former downstair's bathroom as the world's smallest half bath, so we wouldn't end up missing on functioning bathrooms.

In total our little old house is a single-family home with 4 bedrooms and 2.5 baths over 2,184 sqft. Not so little, not so old, but ours all the same!

That the laundry-mudroom of our house was once part of the outside becomes super obvious when you see the part of the wall that still sports the exterior siding. After ripping out the old bathroom's tile and painting the new drywall with the same sweet yellow paint we used in the kitchen, the grey siding and door stuck out like a sore thumb.

Since I actually love the look of the siding - people keep putting paneled walls in all the time - and the reminder of what this area used to be before it was closed in, I decided to just paint both wall and door to make them tie into the rest of the room.

So here I am, priming the wall (and ready to tackle the door next) after scrubbing everything down and giving it a quick sanding.
Even with just the part of the wall primed, the whole room is starting to look bigger and brighter (other than the window in the door there is no window in my laundry room). I figure by the time I'm done, the room will have about doubled in size ;o)